

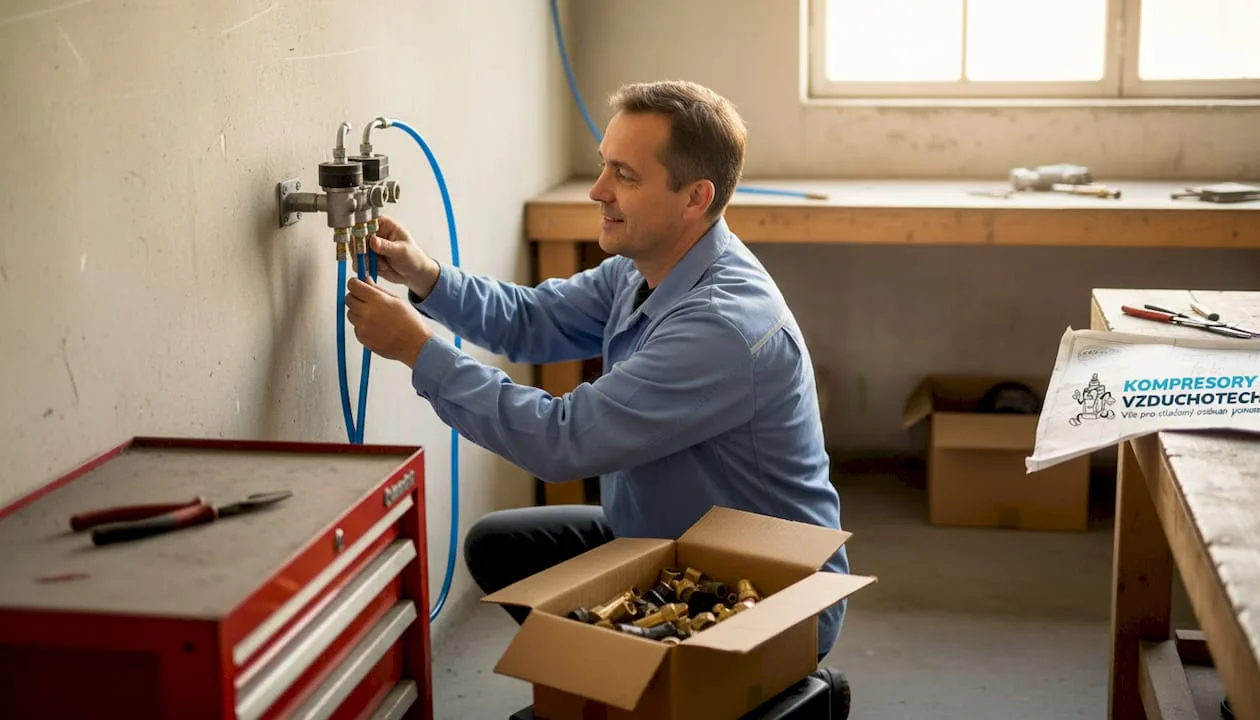
TL;DR:
- Correct installation of a pneumatic system is key for efficiency and a long service life.
- Precise planning, the right choice of tools and quality components are important.
- Regular checking and consistent prevention of mistakes prevent faults and reduce operating costs.
Installation of a pneumatic system: step by step for professionals
A poorly carried out installation of a pneumatic system causes a loss of pressure, increased energy consumption and unnecessary downtime in the plant. Craftsmen and industrial technicians know it well: one badly sealed joint or an underestimated dimensioning of the distribution can stop a whole production. This guide brings a precise, logically structured procedure of installation from preparation to the final check of functionality. Every step is described with regard to the real conditions of a workshop or an industrial plant. You will get an overview which will save you time, material and repair costs.
Contents
- What you need before installing a pneumatic system
- A practical procedure: step by step installation of the system
- The most frequent mistakes and how to prevent them
- Final check and verification of the functionality of the system
- Why we no longer take the installation procedure as routine
- Where to find proven products and expert advice
- Frequently asked questions
Key findings
| Point | Details |
|---|---|
| Correct preparation | A careful choice of materials and planning prevents most problems during installation. |
| A step by step procedure | Following precise installation instructions minimises mistakes and increases safety. |
| Preventive checks | A regular check of the system extends its service life and reduces repair costs. |
| Investment in quality | Investing in quality components and the right procedure pays off in the long term. |
What you need before installing a pneumatic system
Now that you know why correct installation is key, let us look at what needs to be prepared before the work itself begins. Expert planning significantly increases the success and efficiency of the system. Skipping the preparation phase is the most frequent cause of unnecessary complications.
The necessary tools and material
Before starting, prepare a complete list of tools. A missing tool in the middle of the installation holds things up and increases the risk of improvisation, which damages the quality of the work.
Basic tools:
- A torque wrench and a set of socket wrenches (various sizes)
- A pipe cutter and a deburrer
- A pressure gauge for verifying the pressure in the system
- A soap solution or a detection spray for the tightness test
- Teflon tape and a sealant suitable for air distribution
- A drill, a hammer drill and mounting brackets for fixing
- A band saw or an angle grinder for adjusting the pipes
- A spirit level for a precise routing of the distribution
The necessary material:
- Pipes of the relevant diameter (steel, aluminium or polyamide according to the operating conditions)
- Couplings, elbows, branches and shut-off valves
- An air receiver of the corresponding capacity
- A condensate separator and possibly a filter, regulator and automatic lubricator (FRL unit)
- A complete compressor unit with the corresponding output
Requirements on space and safety
The space for the installation must meet specific conditions. The compressor needs a sufficient supply of air and ventilation. The minimum recommended distance of the compressor from the wall is 50 cm on all sides. At the same time the drainage of condensate from the lowest point of the system must be ensured.
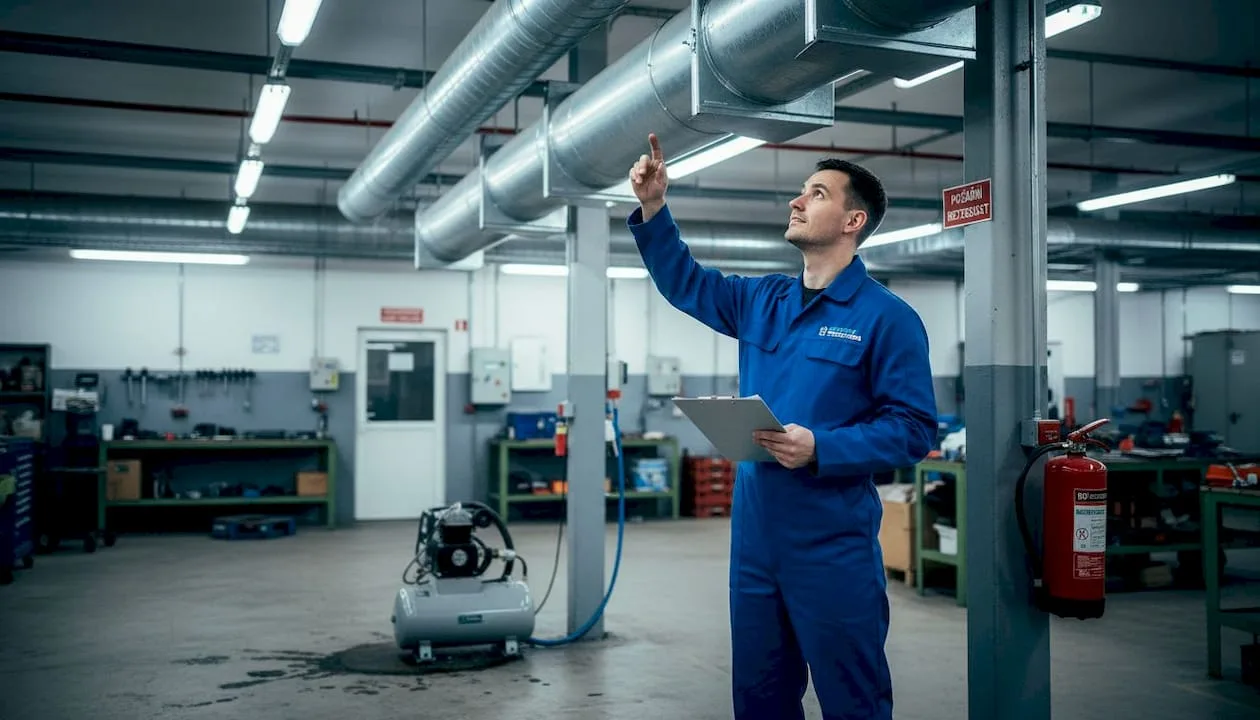
For the safe use of tools it applies that all distribution lines must be clearly marked and accessible for service. The working space must be dry, without flammable substances in the immediate vicinity of the compressor.
Basic requirements on the air distribution
The correct calculation of the diameter of the piping depends on the total flow of air (in litres per minute) and the length of the line. Too small a diameter causes pressure losses. As a rule of thumb: for a distribution length up to 20 metres and a flow of 500 l/min a pipe DN 25 mm is enough. For longer or more powerful systems a calculation according to tables or consultation with a specialist is necessary.

| Length of the distribution | Flow of air | Recommended diameter of the pipe |
|---|---|---|
| Up to 10 m | Up to 200 l/min | DN 15 mm |
| Up to 20 m | Up to 500 l/min | DN 25 mm |
| Up to 50 m | Up to 1000 l/min | DN 40 mm |
| Over 50 m | Over 1000 l/min | DN 50 mm and more |
Professional tip: Invest in quality couplings and fittings from proven manufacturers. Cheap components save money at purchase, but generate costs during repairs and downtime. Quality parts commonly pay for themselves during the first year of operation.
A practical procedure: step by step installation of the system
Once you have everything prepared, you can begin the installation according to specific steps. The right order of the steps eliminates most installation problems and increases safety. Every step builds on the previous one, which is why skipping is not recommended.
The installation procedure
-
Placement of the compressor. Choose a stable, level surface. Ensure a supply of electrical energy corresponding to the parameters of the compressor (voltage, circuit breaker). Anchor the compressor using rubber vibration dampers.
-
Installation of the air receiver. Connect the air receiver directly after the compressor. Check whether the vessel is fitted with a safety valve and a pressure gauge. Fix the air receiver vertically or horizontally according to the specification of the manufacturer.
-
Installation of the FRL unit. After the air receiver install a filter, a pressure regulator and an automatic lubricator (FRL unit). This unit protects the tools and extends the service life of the whole system. Observe the correct order: filter, then regulator, then automatic lubricator.
-
Routing of the main distribution. Route the pipes along the walls or the ceiling. Use brackets every 1.5 to 2 metres. Route the main distribution with a slight fall (approx. 1 %) from the compressor to the lowest point, where you install a condensate separator.
-
Connection of the branch outlets. Connect the branches to the air distribution always from the upper part of the piping, so that condensate does not get into the supply line of the tools. Fit every outlet with a shut-off valve.
-
Sealing of the joints. Apply teflon tape or a sealant to the threaded joints. Tighten the threads with a torque wrench according to the specification of the manufacturer. Never overtighten, the body of the coupling could crack.
-
Pressure test. Before the first start fill the system with air to the working pressure and check the tightness of all the joints with a soap solution. Bubbles indicate a leak.
-
Start-up and setting of the pressure. Start the compressor. Set the working pressure according to the requirements of the connected tools. Typically 6 to 8 bar for pneumatic tools, 4 bar for applications with lower demands.
| Step | Action | Approximate time |
|---|---|---|
| 1 | Placement of the compressor | 30 min |
| 2 | Installation of the air receiver | 20 min |
| 3 | Installation of the FRL unit | 30 min |
| 4 | Routing of the main distribution | 2 to 3 hrs |
| 5 | Branch outlets | 1 hr |
| 6 | Sealing of the joints | 45 min |
| 7 | Pressure test | 30 min |
| 8 | Start-up and setting | 20 min |
Professional tip: Document every step with photographic documentation or a diagram. During a future service or extension of the system you will save hours of searching for pipe routes and identifying shut-offs.
The most frequent mistakes and how to prevent them
The installation is finished, but right now you can do the most for future trouble-free operation by eliminating typical mistakes. The prevention of mistakes leads to an increase in the efficiency and service life of the system. Let us look at the most frequent problems and how to face them.
The most frequent installation mistakes
- Underestimated dimensioning of the piping. The diameter of the pipes must correspond to the actual flow, not only to the current needs. Systems grow over time. Count on a reserve of at least 20 percent above the current consumption.
- Bad sealing of the threaded joints. Unsuitably applied teflon tape or an insufficient quantity of sealant causes leaks. Every joint requires the correct procedure: a clean thread, correct winding of the tape in the direction of the thread, an even application of the sealant.
- A missing condensate separator. Without separators water accumulates in the piping and damages the tools, shortens the service life of the hoses and causes corrosive damage to the pipes.
- Branches from the lower part of the piping. Condensate flows down into the supply lines of the tools. The result is faults of pneumatic motors and valves. Branches always from the upper part of the piping.
- Insufficient fixing of the pipes. Freely hanging pipes vibrate, fatigue of the material causes cracks in the joints. Brackets every 1.5 metres are the minimum.
- Missing shut-off valves on the branches. Without valves it is not possible to service part of the system without shutting down the whole plant. Every branch must have its own shut-off.
Systems without proper prevention of mistakes and regular maintenance have on average 30 percent higher operating costs than correctly installed and maintained distribution. The investment in correct installation is returned in the first season of operation.
If you want to understand better why these mistakes have such a marked impact: the advantages of pneumatic systems are directly dependent on the quality of the installation. A badly installed system will not achieve even a fraction of its potential.
How to recognise and correct mistakes
After the installation or during operation follow these signals: a sudden drop in pressure without an obvious cause indicates a leak. An increased consumption of electrical energy by the compressor can signal leaks. Damp or water in the pneumatic tool points to a non-functioning condensate separator.
Professional tip: Carry out a comprehensive check of tightness with a soap solution immediately after the first filling of the system to the full working pressure. Do not wait for the manifestation of problems during operation.
Final check and verification of the functionality of the system
You have eliminated mistakes, now let us proceed to the last step: a thorough check. A regular check increases reliability and reduces the risk of faults. This step cannot be skipped or shortened.
The methodical procedure of the final check
-
Visual inspection of the whole distribution. Check the fixing of all the brackets, the state of the pipes and joints. Look for mechanical damage, traces of corrosion or deformation.
-
Check of tightness under pressure. Fill the system to the maximum working pressure. Check the whole distribution with a detection spray or a soap solution. Any bubbling marks the place of a leak.
-
Verification of the function of the safety valve. Test the safety valve on the air receiver by manual release. The valve must open and close without sticking.
-
Check of the setting of the pressure switch. The compressor must switch on at the lower limit of the working pressure and switch off at the upper limit. A deviation greater than 0.5 bar from the set value requires adjustment.
-
Test of the function of the condensate separator. Verify whether the separator drains the condensate correctly. Manual draining must be free-flowing.
-
Measurement of the pressure at the outlets. At every working outlet measure the pressure at full flow. The pressure difference between the main distribution and the end of the branch must not exceed 0.5 bar.
-
Verification of the function of the FRL unit. Check the setting of the regulator, the state of the filter element and the level of lubricating oil in the automatic lubricator.
-
Functional test of the connected tools. Connect a representative sample of tools or equipment and verify the correct function at the working pressure and flow.
A systematic final check optimises air consumption and identifies shortcomings before they cause a fault during operation. Statistical data show that systems subjected to a structured check after installation show 40 percent fewer faults in the first year of operation compared with systems without an initial check.
Parameters followed for ongoing operation
| Parameter | Recommended value | Frequency of checking |
|---|---|---|
| Working pressure | According to the specification of the tools | Daily |
| Level of oil in the automatic lubricator | Min. 1/3 of the volume | Weekly |
| State of the filter element | Without contamination | Monthly |
| Drainage of condensate | Free-flowing | Weekly |
| Tightness of the joints | Without a leak | Monthly |
Professional tip: Record the results of the final check in the service sheet of the system. In the event of an audit, the handover of the workshop or an extension of the system you will have a complete overview of the state of the installation and the history of measurements.
Why we no longer take the installation procedure as routine
After years of experience with installations in industrial as well as craft plants it is clear that the approach to the installation of a pneumatic system fundamentally influences the overall performance of a business. Installation is not a one-off job which is done and forgotten. It is a strategic operation with long-term consequences.
Small mistakes during installation, for example badly wound teflon tape or a branch from the lower part of the piping, do not show up immediately. They show up after half a year, in the middle of the season, when operation is most intensive. And then the costs of repair and downtime are many times higher than the original price of a correct installation.
The quality of the system directly determines the efficiency, speed and safety of everyday work. A professional approach to installation therefore pays off not only technically, but economically and operationally too. We recommend perceiving every installation as an investment in the reliability of the plant for the next 10 to 15 years.
Professional tip: Entrust the installation to, or consult it with, a technician who has demonstrable experience with industrial air distribution. An hour of consultation can save days of repairs.
Where to find proven products and expert advice
Are you ready not only to install the system, but also to optimise it? Take a look at the offer and get in touch with the specialists.
At Kompresory-vzduchotechnika.cz you will find a complete range for building and operating pneumatic systems. The offer includes reliable MARK compressors for industrial as well as craft applications, as well as pipes for air distribution in diameters of 15 to 28 mm. For the choice of the right configuration of the system expert advice is available, which will help dimension the distribution precisely, choose suitable components and plan the installation according to the specific operating conditions.
Frequently asked questions
How long does the installation of a pneumatic system in a standard workshop take?
The installation of a system according to the recommended procedures usually takes several hours; it depends on the complexity of the distribution and the availability of the material. For a medium-sized workshop with one or two working outlets count on one working day.
What are the most frequent mistakes when installing a pneumatic system?
The most frequent mistakes are bad sealing of the joints, underestimating the dimensioning of the distribution and insufficient checking of tightness after installation. A detailed overview of the mistakes and their solution is described by the guide to connecting distribution.
How often does the system need to be checked after installation?
We recommend checking the functionality of the system at least once a month, or before every larger operational deployment. Specific intervals for checking the efficiency of the system are given by the guide to the function of the air receiver.
Which types of hose are the most suitable for installing a system?
Polyamide hoses are ideal, providing a high resistance and a long service life in an industrial environment. A detailed comparison of the types of hose can be found in the guide to choosing hoses for the car service and industrial plants.
Recommended
- How pneumatics works: a complete guide for industry 2026
- The function of the air receiver: how to increase the efficiency of pneumatic systems - Kompresory-Vzduchotechnika.cz
- What pneumatic automation is: a guide for industry - Kompresory-Vzduchotechnika.cz
- Advantages of pneumatic systems: why to use them in production - Kompresory-Vzduchotechnika.cz