
TL;DR:
- Proper hose connection involves carefully securing the seal and attaching the hose to the pressure or water source. Incorrect connection leads to air leakage, equipment damage, or hose bursting under pressure. In the manuals of reputable manufacturers – from global premium tool brands to appliance manufacturers such as Electrolux – you will find best practices for pneumatic hoses, irrigation systems, and household appliances.
Correct hose connection is defined as a procedure in which the hose is firmly connected to the pressure or water source, the seal is active, and the joint withstands pressure surges without leaking medium. Incorrect connection causes air leakage, equipment damage, or in extreme cases, hose bursting under pressure. This guide covers three most common situations: pneumatic hoses on compressors, garden irrigation hoses, and drain hoses on household appliances. Each procedure is based on technical practice and manufacturer manuals, for example Electrolux or Beko.
How to connect a hose correctly: tools and materials you need
Before you connect the hose itself, the right tools and components have to be ready. An unsuitable coupling or a missing seal are the most common causes of leaks after the system is first started.
Basic tools:
- Flat and cross-head screwdriver (for hose clamps and clips)
- Combination pliers or a wrench for tightening threaded couplings
- A sharp knife or hose cutter for a clean, burr-free cut
- PTFE tape for threaded joints in pneumatic and water systems
- A pressure gauge or pressure gauge for checking the working pressure
Hose types and their use:
Air hoses for compressors are made of PVC, polyurethane or rubber. Polyurethane hoses from manufacturers such as Festo or Parker are lighter and more abrasion-resistant than standard PVC. Garden irrigation uses drip hoses with a diameter of 16 mm or 20 mm. On household appliances, reinforced PVC hoses with a diameter of 19 mm or 22 mm are the standard.
Connecting elements and seals:
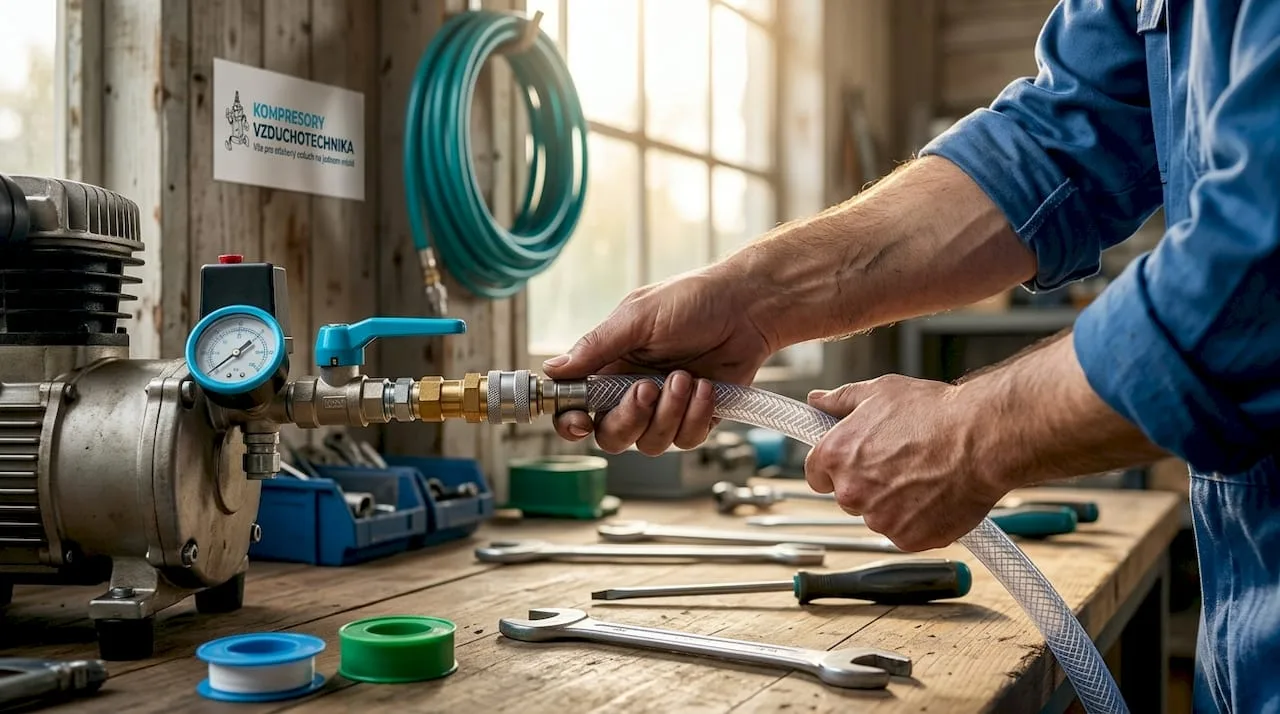
A correct hose connection requires suitable quick couplers, hose clamps or threaded fittings. In pneumatics, the most widespread are Euro standard quick couplers (type C), which allow connection and disconnection without tools. An O-ring or flat seal must always be present and undamaged. A missing or worn seal causes leaks even when the hose appears to be fitted correctly.
Safety features:
A pressure regulator and air filter are part of every properly assembled pneumatic system. The pressure regulator protects the hose and accessories against exceeding the maximum permitted pressure. In irrigation systems, a pressure reducer at the inlet performs the same function.
Professional tip: Before buying couplings, measure the outer diameter of the hose with a caliper. On cheap hoses the nominal diameter on the packaging and the actual dimension differ by up to 1 mm, which causes leaks.
How to connect an air hose to a compressor step by step
Connecting an air hose to a compressor is a procedure that requires an exact sequence of steps. Before connecting the hose, switch the pressure switch to OFF and disconnect the compressor from the mains. This step eliminates the risk of the compressor starting suddenly while you are handling the hose.
How to connect the air hose
- Switch off the compressor and disconnect the power. Set the pressure switch to OFF and pull the plug out of the socket. Never work on a hose while the compressor is under pressure.
- Check the maximum working pressure of the hose. The regulator output pressure must not exceed the maximum permitted pressure of the hose and of the connected accessories. You will find the value on the hose label or in the data sheet.
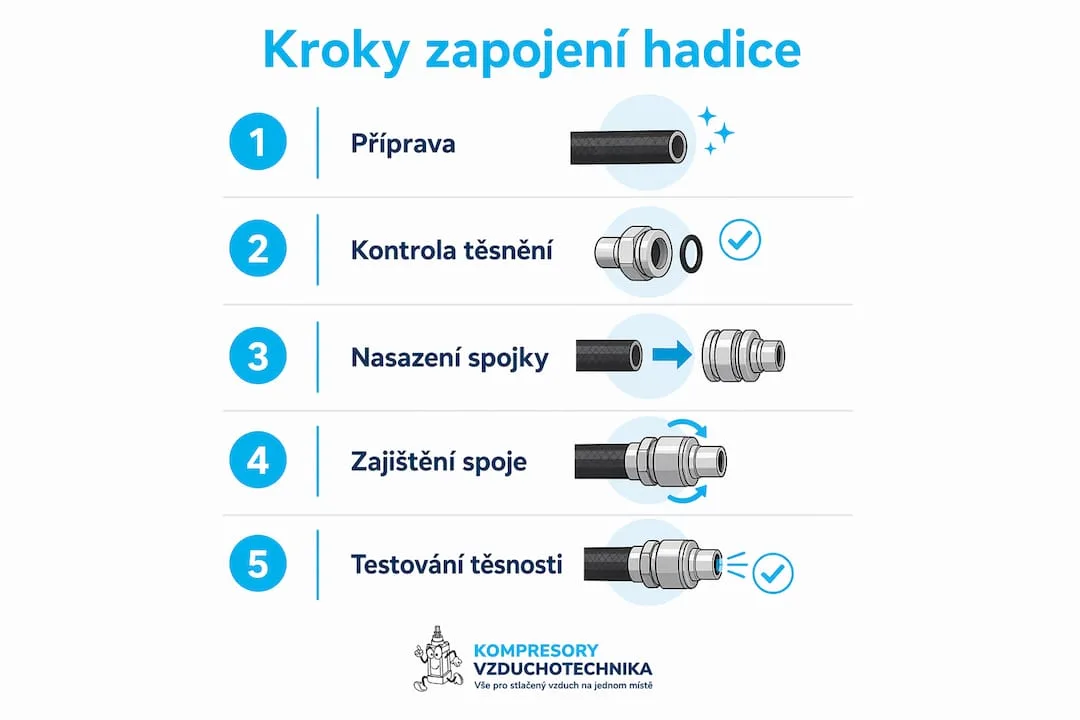
- Check the condition of the quick coupler and the seal. Inspect the O-ring inside the female part of the coupler. Replace a damaged or hardened seal before connecting.
- Fit the hose onto the compressor outlet coupler. Push the male plug fully into the female coupler until you hear it click. Simply pushing it on is not enough: the seal only becomes active when the connector is fully inserted.
- Connect the air tool to the other end of the hose. The procedure is the same as connecting to the compressor.
- Switch the compressor on and set the working pressure. Once the air tank is pressurised, set the regulator to the required pressure. The standard range for hand tools is 6 to 8 bar.
- Check the joints for leaks. Apply soapy water to the joints or use a leak detector. Bubbles indicate a leak that requires reconnecting or replacing the seal.
Safety warning: Before disconnecting the hose, first reduce the pressure in the system to zero. After disconnecting, open the drain valve and drain the condensate from the air tank. Condensate causes corrosion of the tank and, if neglected, shortens the service life of the compressor.
Professional tip: Route the hose away from walkways and secure it with cable clamps or hooks on the wall. A hose lying loose gets kinked or driven over, and those are the most common causes of mechanical damage in workshops.
| Connection type | Maximum pressure (bar) | Tools needed for assembly | Suitable use |
|---|---|---|---|
| Euro quick coupler (type C) | 15 | None | Hand-held pneumatic tools |
| BSP 1/4" threaded coupling | 20 | Wrench, PTFE tape | Fixed air pipework |
| Hose clamp + barb | 10 | Screwdriver | Low-pressure applications |
| BSP 3/8" threaded coupling | 25 | Wrench, PTFE tape | Industrial piping |
A detailed overview of hose types and their parameters can be found in the guide to choosing air hoses for car workshops and industrial applications.
How to connect a garden irrigation hose for the best results
Installing a drip hose, when done correctly, ensures even watering without overpressure and mechanical damage. Incorrect tensioning or a sharp bend in the hose causes uneven flow or a burst at the kink.
Preparing and laying the drip hose
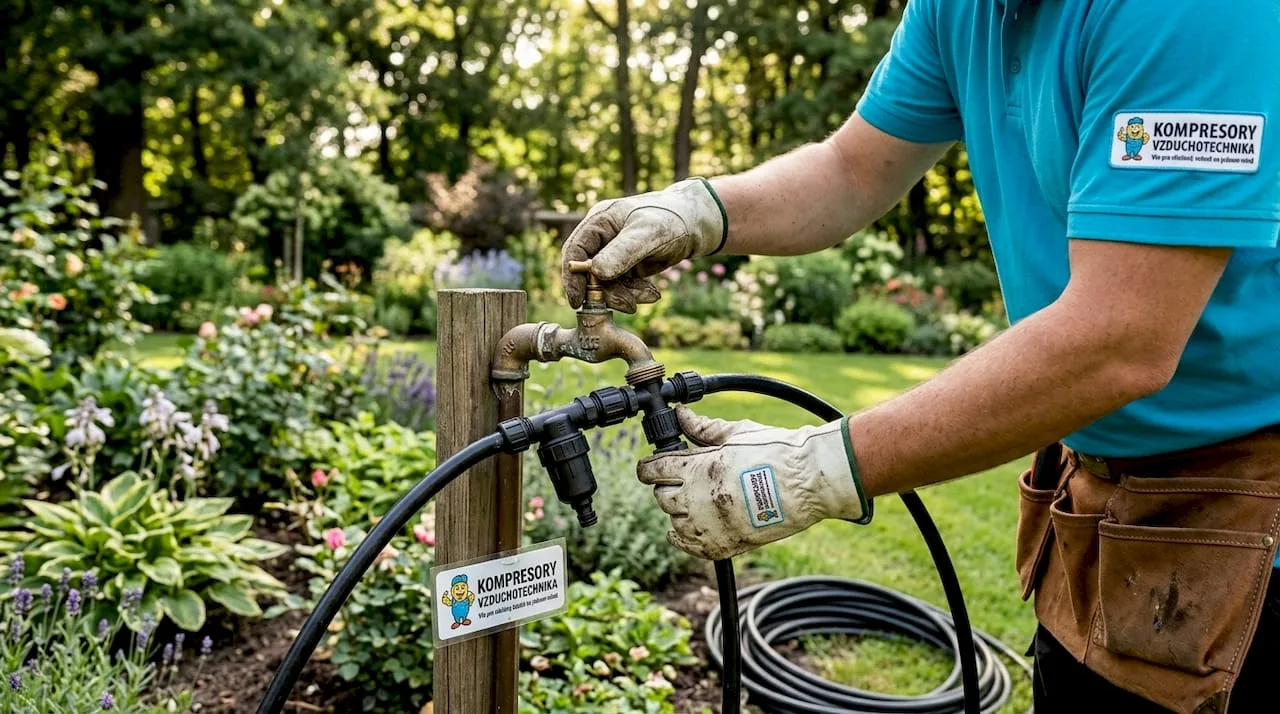
- Let the hose warm up before laying it. Leave the hose in the sun for about an hour before installation. A warm hose is more flexible, easier to lay and does not form sharp kinks that restrict flow.
- Plan the route and measure the length. Sketch the layout of the rows and measure the total length. A drip hose with a diameter of 16 mm has a maximum recommended length of 50 to 100 metres per line, depending on the flow rate of the drippers.
- Lay the hose along the rows of plants. Do not stretch the hose. A slight slack prevents bursting caused by thermal expansion in summer.
- Fix the hose with pegs every 50 to 70 cm. Mechanical damage and incorrect fixing are the most common cause of irrigation system failure. Pegs stop the hose from being moved by the wind or during work in the bed.
- Use elbows on curves and corners. A sharp bend without an elbow restricts flow and causes permanent damage to the material at the bend.
- Fit T-pieces for branches. T-pieces are pushed straight into the hose without glue. Make the hole for the T-piece with the special punch included in most installation kits.
- Close the free ends with end caps. The end cap maintains pressure in the system and prevents water escaping at the end of the line.
Professional tip: Fit a dirt filter and a pressure regulator at the inlet of the irrigation system. The filter, regulator and end caps significantly extend the service life of the drippers and prevent them from clogging.
Comparison of irrigation hose types
| Hose type | Diameter (mm) | Maximum line length (m) | Suitable for |
|---|---|---|---|
| Drip hose with integrated drippers | 16 | 50 to 100 | Vegetables, garden beds |
| Perforated hose (soaker hose) | 13 to 16 | 30 | Hedges, shrubs |
| Micro-tube with drippers on stakes | 4 to 6 | 10 | Flower pots, planters |
| Spray hose | 16 | 20 | Lawn, low planting |
Winter maintenance of the irrigation hose
The system has to be drained before the frosts arrive. Correct hose tension when laying and regular draining of the water before winter prevent the hose from splitting in frost. Procedure: close the water supply, open the end cap at the end of the line and let the water run out freely. For longer runs, use a compressor at low pressure (max. 2 bar) to blow out the remaining water.
How to connect hoses on household appliances: washing machine and dishwasher
Connecting the inlet or drain hose on a washing machine or dishwasher does not require expert knowledge, but it does require precise compliance with the manufacturer's instructions. Incorrect routing of the drain hose causes water to flow back or to leak onto the floor.
How to connect the drain hose on a dishwasher:
- Before replacing the hose, disconnect the appliance from the mains and shut off the water supply.
- Connect the drain hose to the dishwasher's drain spigot and secure it with a hose clamp. Tighten the clamp with a screwdriver until the joint is firm, but do not overtighten it.
- Correct placement of the drain hose in its guide reduces the risk of leaks and ensures efficient water drainage. Push the hose into the grooved guide on the back of the appliance.
- Route the free end of the hose into the trap or over the edge of the sink. The top of the loop must be at least 60 cm above the floor so that water is not siphoned back.
- Secure the hose to the appliance housing with a cable tie or clip. A hose hanging loose will work free of the trap under vibration.
Professional tip: When replacing a hose on a Beko or Electrolux washing machine, check the condition of the flat seal in the inlet hose nuts. A hardened or cracked seal causes leaks even when the nut is tightened correctly. A replacement seal costs a few crowns and saves you replacing the whole hose.
When disconnecting the old hose from a washing machine or dishwasher, expect residual water. Have a cloth or a shallow container ready under the spigot. There can be several decilitres of water left in a washing machine hose, especially if the last cycle was interrupted.
Key points
A correct hose connection always requires disconnecting the pressure or water source, checking the seal and firmly fixing the hose along the whole route.
| Point | Details |
|---|---|
| Safety before connecting | Always switch the compressor off and disconnect the power before handling the hose. |
| Seal check | A fitted hose does not mean an active seal. Check the O-ring before every connection. |
| Hose attachment | Fix the hose every 50 to 70 cm and use elbows instead of sharp bends. |
| Pressure regulator | Set the working pressure below the maximum permitted limit of the hose and the accessories. |
| Winter maintenance | Drain irrigation hoses before the frost so that they do not split. |
Experience from practice: what the manuals do not tell you
I have worked with pneumatic systems for years, and the most common mistake I see, with beginners and experienced technicians alike, is confusing fitting the hose with sealing it properly. The hose looks connected, the quick coupler clicks, but the seal is not active because the connector was not pushed fully home or the O-ring is deformed. The result: an air leak that only shows up at full working pressure, not during a test by hand.
The second thing people forget is hose routing. A hose lying loose on the workshop or garden floor is an invitation to trouble. In the workshop a vehicle drives over it or it gets caught in a door. In the garden the mower cuts through it or it freezes to the ground. Fixing it with pegs or clips every 50 to 70 cm is not a luxury, it is the basics.
The third mistake is underestimating condensate in a pneumatic system. Water in the air tank causes corrosion from the inside and at low temperatures it can freeze in the hose or a valve. Draining the condensate regularly after every longer period of operation significantly extends the service life of both compressor and hoses. On compressors with an automatic condensate drain, check that the drain works at least once a season.
When choosing accessories, do not rely on the cheapest unbranded quick couplers. Quality couplers from manufacturers such as Rectus, Cejn or Parker have precisely defined tolerances and their seals last thousands of cycles. Cheap copies deform after the first few hundred connections and start leaking exactly when you need them least.
— Zdeněk
Compressors and accessories for reliable hose connections
Kompresory-vzduchotechnika offers a complete range for pneumatic systems, from compressors through hoses to connecting accessories.
For industrial and professional applications, SCR screw compressors are a good choice, delivering stable pressure and low noise in continuous operation. To stabilise pressure in the pipework and protect hoses against pressure surges, there are air receiver tanks with volumes of up to 725 litres. The Kompresory-vzduchotechnika team provides technical advice on choosing the right accessories and will help you design compressed air distribution for a workshop, car service centre or production plant. Visit Kompresory-vzduchotechnika.cz and make use of expert support when choosing.
FAQ
How do you fit a hose onto a compressor quick coupler correctly?
Push the male plug fully into the female coupler until you hear a distinct click. Then pull gently on the hose to check that the joint is locked and the seal is active.
What pressure should be set on the regulator for air tools?
The standard working pressure for air hand tools is 6 to 8 bar. The regulator output pressure must not exceed the maximum permitted pressure of the hose or of the connected tool, which is given on the equipment label.
How do you prevent water leaking from an irrigation hose?
Use a dirt filter and a pressure regulator at the system inlet. Secure all T-piece and dripper joints by inserting them correctly and close the free ends with end caps.
What should you do when a hose on a washing machine or dishwasher leaks?
Check the condition of the flat seal in the inlet hose nuts and of the O-ring in the drain spigot. Replace a damaged seal and tighten the nut by hand with a wrench, without excessive force that would damage the thread.
How do you drain an irrigation hose before winter?
Close the water supply, open the end cap at the end of each line and let the water run out freely. To drain longer runs completely, use a compressor at a maximum of 2 bar to blow the remaining water out of the hoses.