
In brief:
- Regular maintenance of the paint spray gun is a fundamental condition for maintaining spray quality and long service life. Proper cleaning, disassembly, dry storage, and the use of suitable tools prevent damage and performance degradation of the tool. Negligence and incorrect procedure lead to loss of warranty and the occurrence of faults.
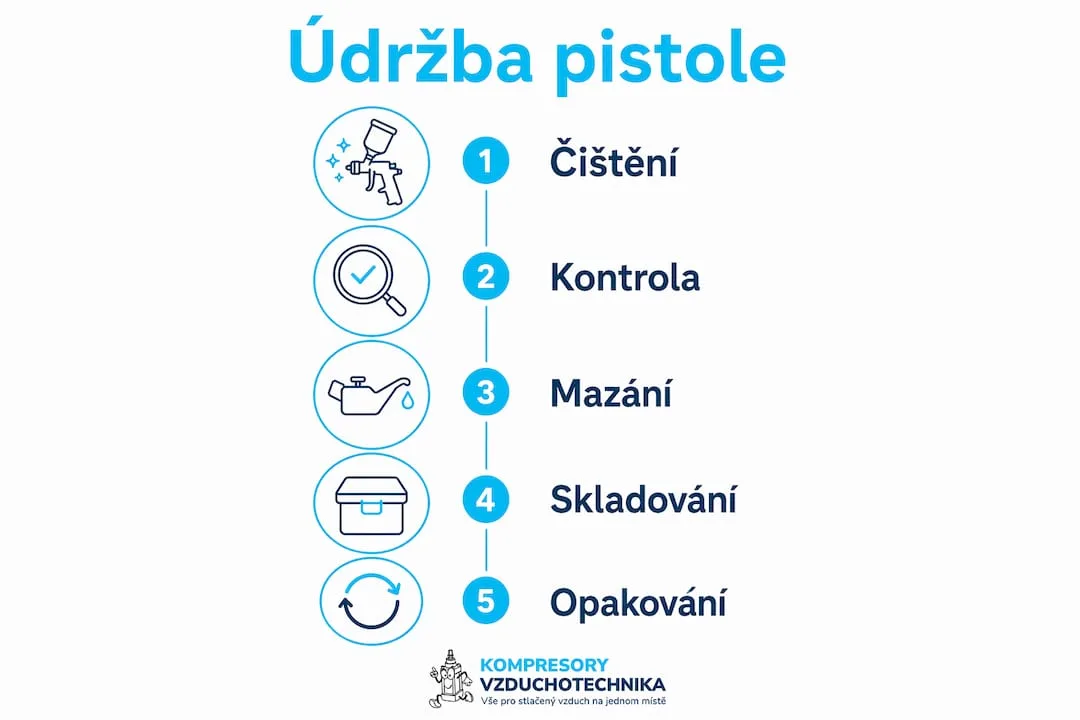
Proper maintenance of the paint spray gun is defined as a regular cycle of cleaning, inspection, and protection of all functional parts of the tool after each use. Neglecting this process leads directly to deterioration of spray quality, premature wear of components, and loss of warranty. Even a small impurity in the nozzle causes an uneven spray with undesirable graininess or paint runs. Step-by-step paint spray gun maintenance is therefore not an optional routine, but a technical requirement for reliable tool performance.
What tools and supplies do you need to maintain the gun?
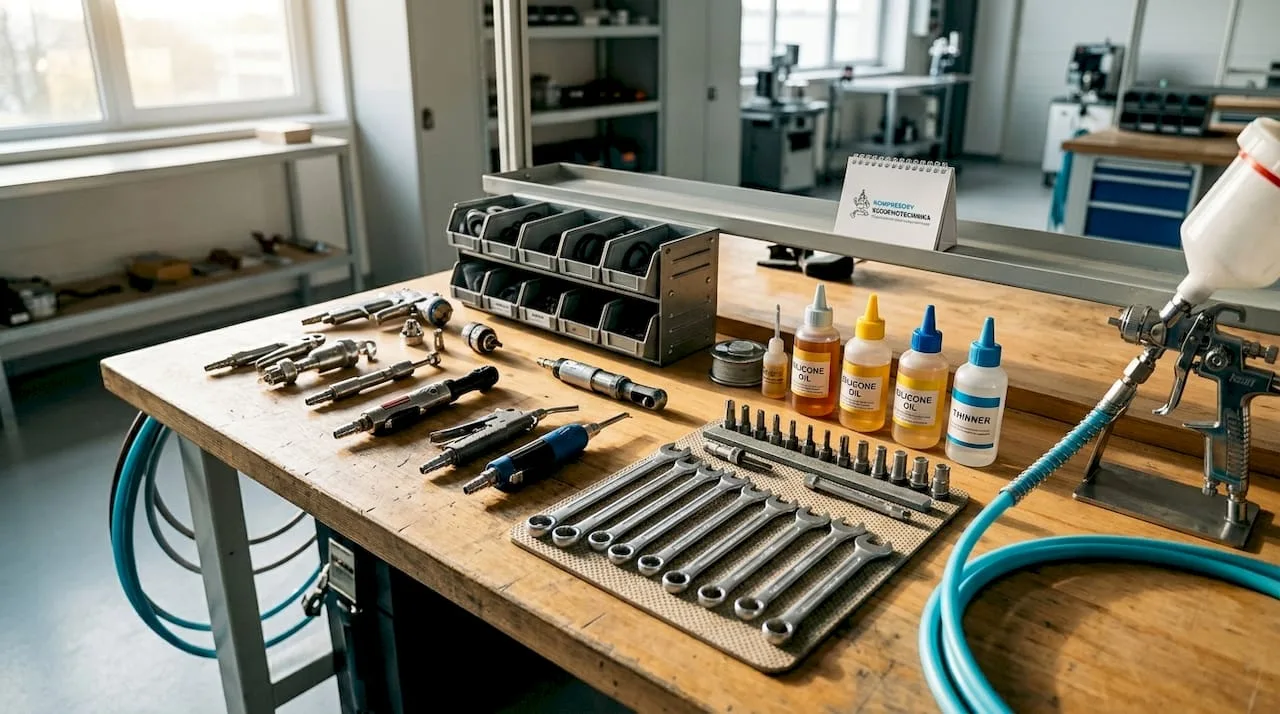
Proper preparation of equipment before cleaning saves time and protects the gun's components from damage. Without the right tools, there is a risk that cleaning will cause more harm than good.
Basic cleaning tools
- Soft brushes of various sizes for cleaning the nozzle, air cap, and internal channels
- Plastic or wooden toothpicks for loosening deposits from small openings
- Clean cloths or paper towels for wiping the outer body of the gun
- Containers or bowls for soaking parts in thinner
- Air gun or blow gun for blowing out residual thinner and moisture
Choosing the right thinner
The choice of thinner depends on the type of paint you used. For water-based paints, warm water with a cleaning agent added is sufficient. For oil-based paints, mineral thinner or white spirit must be used. Thinners for oil-based materials should have a flash point of at least 38 °C for safe operation. Aggressive solvents such as acetone or chlorinated thinners damage rubber seals and shorten the service life of the gun.
Safety equipment
When working with thinners, always use nitrile gloves and safety glasses. Perform cleaning in a well-ventilated area or outdoors, as thinner fumes are harmful to health. Store flammable thinners in their original closed containers, away from heat sources.
Professional tip: Don't pour out the cleaning thinner after first use. Impurities will settle at the bottom of the container and the upper layer of liquid can be reused for pre-cleaning.
How to clean a paint spray gun: exact step-by-step procedure
Cleaning a paint spray gun consists of several consecutive steps. Skipping any of them increases the risk of malfunction or reduced performance.
Preparation before disassembly
- Disconnect the gun from the air source. Never clean the gun with the hose connected under pressure. Remaining pressure in the system can cause uncontrolled spraying of paint or thinner.
- Empty the paint bowl. Pour excess paint back into its original container. Flush the remaining paint in the bowl with a small amount of thinner and dispose of this solution according to local regulations.
- Flush the gun with thinner. Pour a small amount of clean thinner into the bowl and let it flow through the gun by pulling the trigger. Repeat until clean thinner comes out of the gun.
Disassembling the gun
- Remove the air cap. The air cap is usually unscrewed by hand or with the help of a wrench. Place it in a container of thinner to soak.
- Unscrew the nozzle. The nozzle is a sensitive component. When removing it, hold it firmly but carefully so it doesn't fall or become deformed.
- Pull out the needle. Pull the needle out slowly with a straight backward motion. Inspect it visually for bending or damage.
- Disassemble other accessible parts according to the manufacturer's instructions. Not all guns allow full disassembly. Proceed only as far as the manufacturer recommends.
Professional tip: Before disassembly, take photos of the gun from multiple angles. This way you'll know exactly where each part belongs when reassembling.
Cleaning the individual parts
Let the soaked parts (air cap, nozzle) sit in thinner for 10–15 minutes. Then clean them with a soft brush. Never use metal objects to clean the nozzle. Scratching the nozzle surface causes permanent deterioration of the spray pattern that cannot be repaired.
- Clean the air cap holes with a thin soft brush or a plastic toothpick
- Wipe the needle with a cloth soaked in thinner, moving from the base to the tip
- Flush the internal channels of the gun body with thinner using a small brush or a syringe
- Wipe the outer body of the gun with a cloth soaked in thinner
Ultrasonic cleaners are suitable for removing stubborn deposits from internal channels. This method removes dirt from inaccessible areas without abrasive damage and is becoming increasingly popular among professional painters.
Drying and reassembly
- Dry all parts thoroughly. Use compressed air or a clean cloth. Residual moisture combined with the metal parts of the gun creates a corrosion risk in the gun's channels.
- Check the condition of the seals. Replace any cracked or hardened seals before reassembly. A damaged seal causes air and paint leaks.
- Reassemble the gun in reverse order. Follow the manufacturer's instructions exactly. Do not overtighten the parts.
- Check functionality. After reassembly, connect the gun to the air supply and check for leaks. Perform a test spray on paper.
After each use, also clean the air filter to ensure proper air flow and prevent malfunctions.
What are the most common mistakes when cleaning a paint spray gun?
Mistakes in gun maintenance have a direct impact on spray quality and tool lifespan. Most problems arise from carelessness or lack of knowledge of the correct procedure.
Unsuitable thinners and their consequences
Using aggressive or incompatible thinners damages the rubber seals inside the gun. A damaged seal causes air leaks, uneven pressure, and uncontrolled paint dripping. Always use the thinner recommended by the paint or gun manufacturer.
Metal objects in the nozzle
Using sharp metal objects to clean the nozzle leads to irreversible damage to the nozzle surface, resulting in poor paint dispersion. A scratched nozzle produces an uneven or frayed paint spray pattern that cannot be corrected by calibration. The only correct choice is soft brushes or plastic toothpicks.
Insufficient drying before storage
A gun assembled with wet parts corrodes from the inside. Corrosion in the gun's channels contaminates paint during subsequent use and causes surface defects. Every part must be completely dry before assembly and storage.
Manufacturers warn that improper maintenance may lead to the rejection of warranty repairs. Maintenance of the gun is not optional, but a technical requirement for maintaining the warranty and reliability of the tool.
Overview of the most common mistakes
- Using acetone or chlorinated thinners on guns with rubber seals
- Cleaning the nozzle with metal objects (screwdrivers, wires, needles)
- Assembling the gun without thoroughly drying all parts
- Skipping cleaning of the air filter after each use
- Storing the gun without the nozzle mounted
How to properly store the gun after maintenance?
Proper storage extends the service life of the gun and protects sensitive components between individual uses. Improper storage can ruin even a perfectly cleaned gun.
Protection of the needle and nozzle
Manufacturers recommend never storing the gun without the nozzle attached. The nozzle protects the needle from bending and mechanical damage. A bent needle causes an asymmetric spray pattern and cannot be straightened without the risk of breaking.
Lubrication of the moving parts
Lightly lubricate the moving parts of the gun, especially the needle and trigger mechanism, with silicone oil or special oil for pneumatic tools. Regular lubrication of moving parts preserves the functionality of the components and prevents them from seizing. Lightly coat the outer body of the gun with silicone oil to protect against corrosion.
Professional tip: For long-term storage, disassemble the gun, clean it and lubricate the moving parts. Store the parts in a clean bag or box to prevent dust from settling on them.
Storage conditions
- Dry environment with low air humidity
- Temperature without extreme fluctuations (do not expose to frost or direct sunlight)
- Protection against dust using a closed case or bag
- Store out of reach of aggressive chemicals and solvents
Never store the gun with paint in the bowl. Paint dries, clogs the channels and causes problems that require costly repair or replacement of parts.
Key takeaways
Regular and properly performed maintenance of the paint spray gun is the only way to ensure quality spraying and a long service life of the tool.
| Item | Details |
|---|---|
| Cleaning after each use | Flush the gun with thinner immediately after finishing work, before the paint has dried. |
| Correct thinners | Always use a thinner compatible with the type of paint and with a flash point of min. 38 °C for oil-based materials. |
| Nozzle protection | Never clean the nozzle with metal objects, scratches are permanent and cannot be repaired. |
| Drying before storage | All parts must be completely dry, otherwise corrosion occurs in the gun's channels. |
| Storage with the nozzle | The nozzle protects the needle from bending, never store the gun without it. |
What I have learned after years of working with spray guns
Most users underestimate nozzle cleaning during normal operation. Yet it is precisely a clogged nozzle that is the most common cause of spraying problems, which people mistakenly attribute to bad paint or the compressor. I experienced this myself: the gun worked "almost fine", the spray pattern was a bit grainy, and I kept changing the paint, pressure, and distance. The problem was the nozzle, which wasn't clean even after an apparent flush.
The second thing that surprised me is how few users lubricate the needle. The needle moves with every trigger pull, and without lubrication it gradually seizes up. The result is a stiff trigger and inaccurate paint metering. A few drops of silicone oil after each cleaning completely eliminates this problem.
I also recommend trying HVLP or LVLP spray guns if you're still working with an older type. These guns are designed with easier cleaning in mind and have fewer hidden channels where paint can build up. Maintenance then takes less time and the results are more consistent.
Last piece of advice: keep a simple maintenance logbook. Write down the cleaning date, the type of paint used, and the condition of the seals. The next time you have a spraying problem, you'll immediately know when you last cleaned the gun and what you replaced. This small detail saves hours of troubleshooting.
— Zdeněk
Equipment and accessories for spray gun maintenance
Kompresory-vzduchotechnika offers a range of pneumatic accessories and spare parts suitable for the regular maintenance of spray guns.

On the Kompresory-vzduchotechnika website, you'll find pneumatic components and accessories for servicing and maintaining guns, including lubricating oils, replacement filters, and seals. The technical support team can advise on selecting the right accessories for a specific type of gun. If you're looking for a new gun or spare parts, the gun selection guide will help you decide based on the type of work and material. Kompresory-vzduchotechnika provides technical advice for professionals and hobby users alike.
Frequently asked questions
How often should a spray gun be maintained?
Clean the gun after every use, while the paint is still fresh. For long-term storage, perform a complete disassembly, cleaning, and lubrication of all moving parts.
What thinner should be used to clean the gun?
Use a thinner compatible with the type of paint you sprayed. For oil-based paints, choose thinners with a flash point of at least 38 °C; for water-based paints, warm water is sufficient.
Can the nozzle be cleaned with a metal needle or a screwdriver?
No. Metal objects will permanently scratch the nozzle and worsen paint atomization. Use only soft brushes or plastic toothpicks.
Why should the gun be stored with the nozzle mounted?
The nozzle protects the needle from bending and mechanical damage during storage. A bent needle causes asymmetric spraying, and replacing it is costly.
Can improper maintenance void the gun's warranty?
Yes. Manufacturers explicitly state that improper maintenance may be grounds for rejecting a warranty repair. Regular and properly performed maintenance is a condition for claiming the warranty.
Recommended
- How pneumatics works: a complete guide for industry 2026
- How to Safely Use Pneumatic Tools: A Guide - Kompresory-Vzduchotechnika.cz
- What is pneumatic lubrication: a guide for technicians - Kompresory-Vzduchotechnika.cz
- List of Professional Spray Guns 2026: A Guide for Technicians - Kompresory-Vzduchotechnika.cz